Get Started with Playdate SDK on MacOS
This post is quite old and is no longer being updated. The following information may not work with the latest versions of the tools, libraries, frameworks, or best practices discussed.
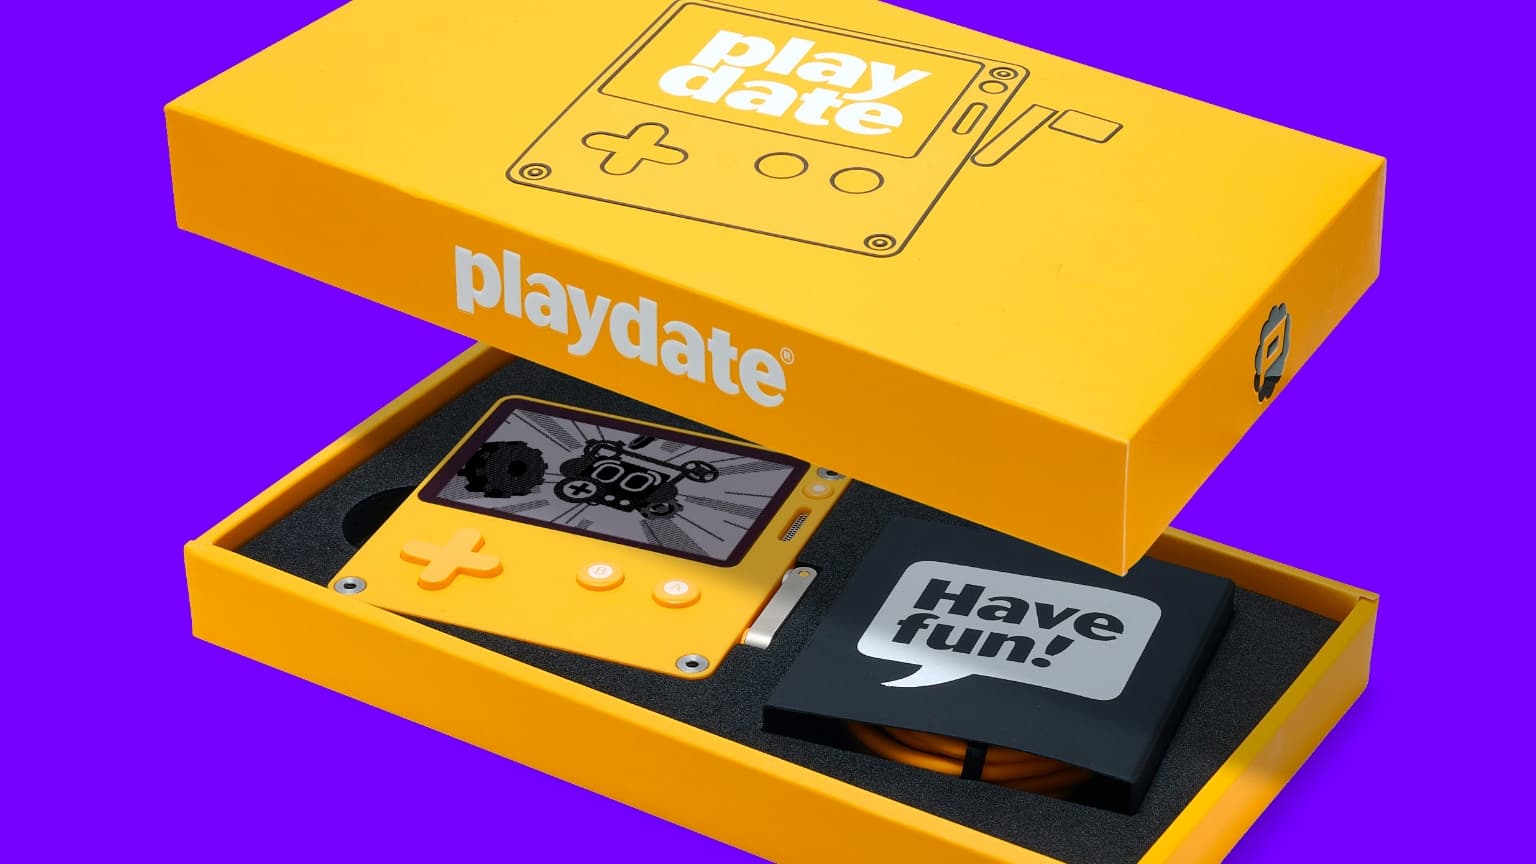
Playdate is a handheld gaming device produced by Panic and designed in collaboration with Teenage Engineering.
In this guide, I will show you how to get started developing a Playdate game using VS Code on macOS.
If you are familiar with basic game development concepts and comfortable writing code in C or Lua, you can skip the introduction and disclaimer and jump ahead. Otherwise, read on.
Introduction
Two things made the Playdate especially exciting to me. First, I have an affinity for 1-bit pixel art. Second, every Playdate can be used as a development kit out of the box.
Game development, and programming in general, can feel inaccessible to people who are not software engineers. Panic set out to create something that, while admittedly niche, offers a relatively low barrier to entry for making your own games.
There are two main ways to approach game development on the Playdate: Playdate Pulp and the Playdate SDK.
Pulp is a browser-based game creation tool that requires little to no programming knowledge. It allows you to create simple games while learning the fundamentals of game development, making it a good option for anyone completely new to programming.
The SDK provides a more traditional game development environment. You use an editor to write your game, compile the code into a game file, and load it into the Playdate Simulator. The SDK supports both C and Lua.
In this guide, I will use the SDK with Lua. Lua is a lightweight, high-level programming language with a C API that compiles to bytecode. If you are already proficient in C, you can use that instead.
For an introduction to Pulp, I recommend checking out SquidGodDev on YouTube.
Design Considerations
Before getting started, it is worth noting that the Playdate display has a resolution of 400x240px and measures 2.7in.
The pixel density is relatively high for such a small screen, so traditional sprite and image sizes may appear smaller than expected. A Game Boy-style 16x16 character sprite may need to be doubled to 32x32 to appear at a similar physical size on the Playdate.
This is ultimately a stylistic choice, but it is worth considering before spending hours creating detailed 1-bit pixel art.
Disclaimer
With that introduction out of the way, let's configure the development environment.
This guide assumes that you understand the basics of game development and can write some testable Lua code by the final steps. If you are new to Lua and game development but already familiar with another programming language, you should still be able to follow along with help from the documentation.
Download the Playdate SDK
Open the Playdate Dev page and follow the instructions to download the SDK.
Open the downloaded .zip file and double-click PlaydateSDK.pkg. Follow the installation steps and install it in the default Developer directory inside your home folder.
Open the Playdate Documentation
The Playdate API documentation is included locally in the root of the PlaydateSDK folder.
For Lua development, open Inside Playdate.html.
Install Lua
brew install lua
If you do not have Homebrew installed, refer to the official installation instructions.
Configure VS Code
Install the Playdate extension by Orta.
Once the extension is installed, open VS Code and press F1 or Shift+Command+P. Search for settings.json and select Preferences: Open Settings (JSON).
Add the following code to your settings.json file:
{ "Lua.diagnostics.globals": ["playdate", "import"], "Lua.workspace.library": [ "/Users/yourHomeFolderName/Developer/PlaydateSDK/CoreLibs" ]}Replace yourHomeFolderName with the name of your home folder.
To locate it, open Finder and press Shift+Command+H.
Set Up Automatic Compilation and Loading
Inside the Developer directory where you installed the PlaydateSDK, create a new folder for your game. You can name it anything you like; this guide will use YourGameName.
Open YourGameName in VS Code and create a directory named .vscode.
Inside .vscode, create two files:
launch.jsontasks.json
Paste the following into launch.json, replacing YourGameName with the name of your game directory:
// launch.json{ "version": "0.2.0", "configurations": [ { "request": "launch", "type": "playdate", "name": "Run app in Playdate simulator", "preLaunchTask": "Compile App", "source": "${workspaceFolder}/Source", "output": "${workspaceFolder}/../PlaydateSDK/Disk/Games/YourGameName.pdx" } ]}Next, open tasks.json and paste the following, again replacing YourGameName:
// tasks.json{ "version": "2.0.0", "tasks": [ { "label": "Compile App", "command": "pdc", "args": ["Source", "../PlaydateSDK/Disk/Games/YourGameName.pdx"], "type": "shell" } ]}Create a Basic Directory Structure
In the root of your game project, create three folders:
Sourceimagessounds
Create Your First Game File
Inside Source, create a file named main.lua. This is the first file loaded by the Playdate.
-- main.lua

import "CoreLibs/object"
import "CoreLibs/graphics"
import "CoreLibs/sprites"

local function initialize()
	-- Your code here
end

initialize()

function playdate.update()
	-- Your code here
end
At this point, you are ready to begin adding your own code. The final step is to test the Playdate extension and confirm that the project structure is configured correctly.
If you are not yet sure what to build but want to verify that everything works, try loading a simple background image in the simulator.
Create a 400x240px image named background.png, place it in the project's images folder, and add the following to main.lua:
-- main.lua

import "CoreLibs/graphics"
import "CoreLibs/sprites"

local gfx <const> = playdate.graphics

local function initialize()
	local backgroundImage = gfx.image.new("images/background")

	gfx.sprite.setBackgroundDrawingCallback(
		function(x, y, width, height)
			gfx.setClipRect(x, y, width, height)
			backgroundImage:draw(0, 0)
			gfx.clearClipRect()
		end
	)
end

initialize()

function playdate.update()
	gfx.sprite.update()
end
Compiling and Loading Your Game in the Simulator
With the initial game code in place, press F5.
Your game should compile into a .pdx file, and the Playdate Simulator should open with the game loaded.
If it does not work, there is likely an issue with the directory structure or the tasks.json and launch.json files. Double-check that both files are configured correctly and that you replaced the placeholder game name with your actual project directory name.
Best Practices Before Uploading to a Remote Repository
Before uploading the project to GitHub or another remote repository, it is a good idea to create .gitignore and README.md files.
Because we are developing on macOS, the following is a useful starting point for .gitignore:
# .gitignore

.DS_Store
Add any other project-specific files as needed.
Next, create README.md and include some basic information about the project:
# YourGameName

A Playdate game by YourName.
Final Thoughts
You should now have a basic Playdate development environment running in VS Code.
Thanks to Orta for creating the VS Code extension used in this guide.
Enjoyed this? Like or share.